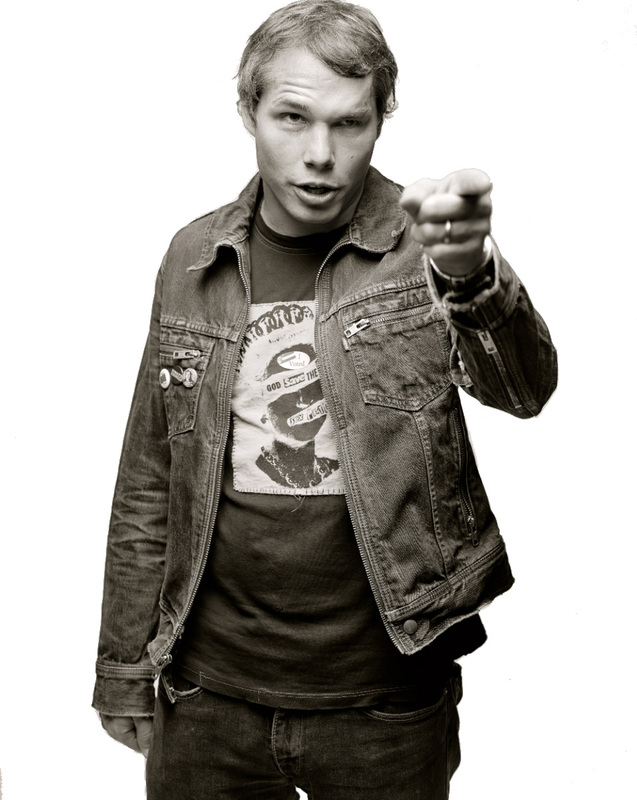
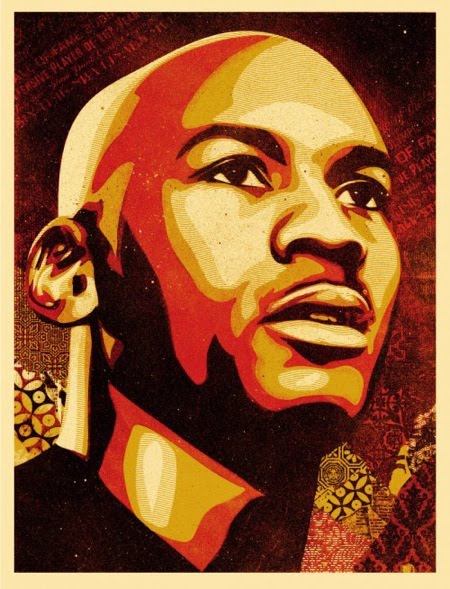
Shepard Fairey Monochromatic Portraits- Value Study Painting
Assigned 12/9
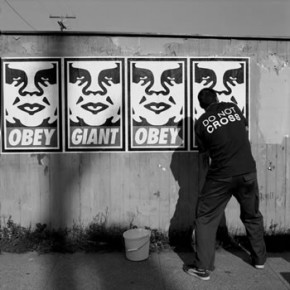
Graffiti artist turned graphic designer....

Bio:
http://en.wikipedia.org/wiki/Shepard_Fairey
Article in Interview Magazine:
http://www.interviewmagazine.com/art/shepard-fairey/#_
http://en.wikipedia.org/wiki/Shepard_Fairey
Article in Interview Magazine:
http://www.interviewmagazine.com/art/shepard-fairey/#_
Learning Objectives:
- Value recognition (Dark-Light)
- Painting/Mixing
- Tints and shades
Today...
Pick a celebrity portrait or work from an original photo portrait that you took, print the photo and begin drawing that image large on your paper.
**See step-by-step slide presentation.
- Value recognition (Dark-Light)
- Painting/Mixing
- Tints and shades
Today...
Pick a celebrity portrait or work from an original photo portrait that you took, print the photo and begin drawing that image large on your paper.
**See step-by-step slide presentation.
One more basic warm up....
Assigned 12/2
Now that you can mix your basic colors, lets mix those up even more!
It is a rare moment where you will paint with a straight, flat color. Most times, in order to achieve dimension and depth to your work, you need subtle variations of the same color in order to depict highlights, shadows or just straight up, plain visual interest!
There are a couple of ways to change a color and a couple of reasons why you would choose one technique over the other (of which we will discuss and experience in class). This brings us back to our common vocabulary.
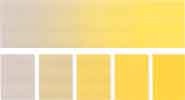
* sometimes you want to change the VALUE of a color. This is done by adding either white (to create a tint) or black (to create a shade).
*other times you want to change the SATURATION or CHROMA of a color. This is done by adding more or less of a color's compliment (the color directly acorss the color wheel)
Assignment: To extend your color wheel exercize, please create the following THREE (3) scales, with each scale having TEN (10) ONE INCH (1") X ONE INCH (1") spaces
*1- a value scale using only black and white (remember, always add your dark color to your light....so plan on how you will start and mix these variations)
*2-a value scale that changes the value of any color (hue) of your choice
*3-a scale that changes the chroma of any color (hue) of your choice
Now that you can mix your basic colors, lets mix those up even more!
It is a rare moment where you will paint with a straight, flat color. Most times, in order to achieve dimension and depth to your work, you need subtle variations of the same color in order to depict highlights, shadows or just straight up, plain visual interest!
There are a couple of ways to change a color and a couple of reasons why you would choose one technique over the other (of which we will discuss and experience in class). This brings us back to our common vocabulary.
* sometimes you want to change the VALUE of a color. This is done by adding either white (to create a tint) or black (to create a shade).
*other times you want to change the SATURATION or CHROMA of a color. This is done by adding more or less of a color's compliment (the color directly acorss the color wheel)
Assignment: To extend your color wheel exercize, please create the following THREE (3) scales, with each scale having TEN (10) ONE INCH (1") X ONE INCH (1") spaces
*1- a value scale using only black and white (remember, always add your dark color to your light....so plan on how you will start and mix these variations)
*2-a value scale that changes the value of any color (hue) of your choice
*3-a scale that changes the chroma of any color (hue) of your choice


Re-Inventing the Wheel
In order to paint effectively and efficiently you must gain an understanding of how the color wheel works. It is true that happy little color accidents can occur, and it is amazing when you can learn to work with them, but wouldnt it be MORE amazing if you could create those mezmerizing color moments and control them? In this introductory assignment I am asking you to re-invent the color wheel to make it a more personal experience while also practicing the fundamentals of paint mixing. The assignment breakdown is as follows:
FOR NOW, YOU MAY ONLY USE RED, YELLOW AND BLUE TO ARRIVE AT YOUR COLORS (DO NOT BE ALL GRABBY GRABBY CHEATY MC CHEATERSONS REACHING FOR THE ORANGES AND PURPLES!)
1: Create a "wheel" of some sort that has a minimum of 12 spaces. This "wheel" should make some sense of how colors mix between the primaries to secondaries and so on.
2: Please, let the color wheel show an element of yourself. Make it fun for you! Let the beginnings of your creativity out so that you can make the most of this routine exercize.
3: The spaces in which you will display your color mixing should be roughly 1.5-2 inches.
4: Mix and apply paint to the appropriate spaces using proper technique and efficient mixing.
5: Consider filling the page and making it more of a composition than something plopped in the middle of the paper.
6: Consider labeling the spaces neatly and with purpose.
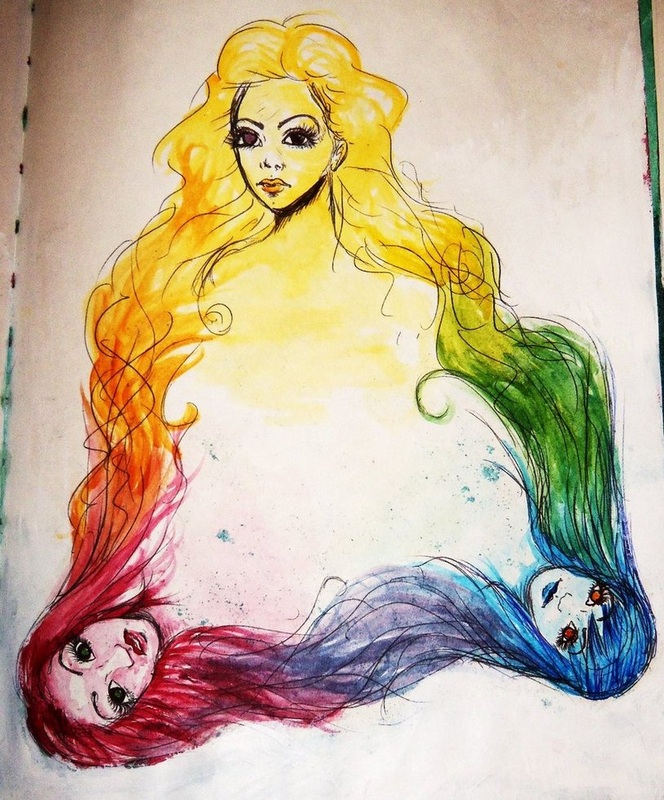
Idiom Illustration
IDIOMS: We have all heard them at one point or another, we have likely said at least one of them at some point in our lives, but my guess is we have rarely stepped back to think about what we were actually saying, or to even recognize what we were saying fell into the category of IDIOM.
What is an IDIOM you say???....
By definition, an Idiom is a combination of words that has a figurative meaning, due to its common usage. An idiom's figurative meaning is separate from the literal meaning or definition of the words of which it is made. Idioms are numerous and they occur frequently in all languages. There are estimated to be at least 25,000 idiomatic expressions in the English Language.
Still wondering???
IN use an idiom sounds like this:
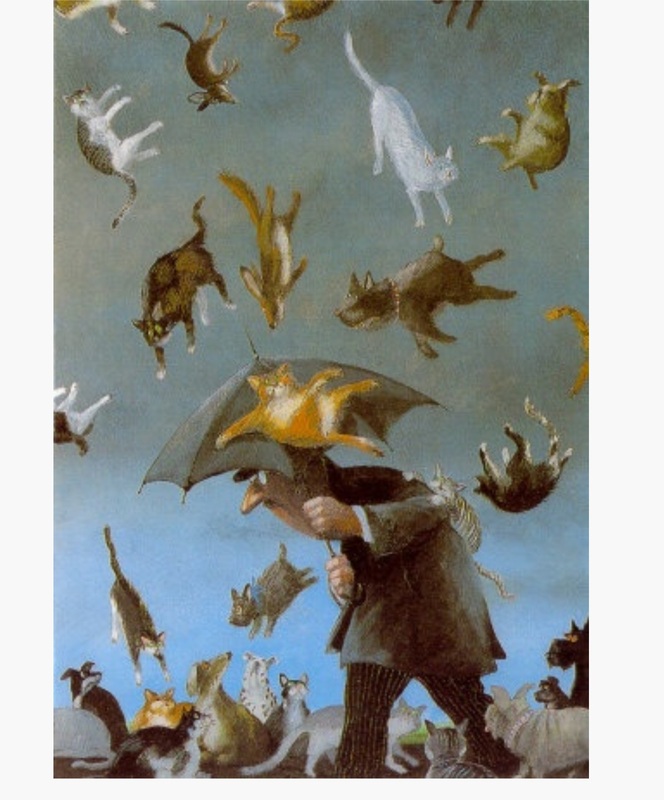
Its raining cats and dogs.....he kicked the bucket.....she has skeletons in her closet....
We understand the accepted meaning of these phrases, yet know they do not actually happen. BUUUUUUUUT...what would it look like if they did?!
WELCOME to your new artistic task!!!! You are about to embark on an illustrative journey into IDIOMS!!!
YOUR JOB:
Find at least 5 Idioms that strike a visual cord in you. Which of these borderline cliche statements can you transform into a NON cliche illustration?!
Whittle it down, eliminate ideas thoughtfully until you arrive at a solidly composed idea that will push your skills AND creatively illustrate your chosen idiom.
Once you determine your idiom to be used in your drawing, create 6-8 different sketches for that idiom but explore different compositions and vantage points. Your final sketch has to be approved by Mrs. Ruelas prior to starting your final drawing.
BE CAREFUL
Because these statements push a cliche concept, it MAY be easy to fall victim to a cliche representation! AVOID this! Push your composition, your vantage point, your tools, your own personal expression to ensure you are presenting your idiom clearly with your own personal blend of creativity!
IDIOMS: We have all heard them at one point or another, we have likely said at least one of them at some point in our lives, but my guess is we have rarely stepped back to think about what we were actually saying, or to even recognize what we were saying fell into the category of IDIOM.
What is an IDIOM you say???....
By definition, an Idiom is a combination of words that has a figurative meaning, due to its common usage. An idiom's figurative meaning is separate from the literal meaning or definition of the words of which it is made. Idioms are numerous and they occur frequently in all languages. There are estimated to be at least 25,000 idiomatic expressions in the English Language.
Still wondering???
IN use an idiom sounds like this:
Its raining cats and dogs.....he kicked the bucket.....she has skeletons in her closet....
We understand the accepted meaning of these phrases, yet know they do not actually happen. BUUUUUUUUT...what would it look like if they did?!
WELCOME to your new artistic task!!!! You are about to embark on an illustrative journey into IDIOMS!!!
YOUR JOB:
Find at least 5 Idioms that strike a visual cord in you. Which of these borderline cliche statements can you transform into a NON cliche illustration?!
Whittle it down, eliminate ideas thoughtfully until you arrive at a solidly composed idea that will push your skills AND creatively illustrate your chosen idiom.
Once you determine your idiom to be used in your drawing, create 6-8 different sketches for that idiom but explore different compositions and vantage points. Your final sketch has to be approved by Mrs. Ruelas prior to starting your final drawing.
BE CAREFUL
Because these statements push a cliche concept, it MAY be easy to fall victim to a cliche representation! AVOID this! Push your composition, your vantage point, your tools, your own personal expression to ensure you are presenting your idiom clearly with your own personal blend of creativity!

Wrapped Animal Portrait
BASIC PROJECT DESCRIPTION
Students will select a high interest animal portrait.
After completing an accurate light line drawing, the portrait will be finished using contours lines constructed of implied wrapping using pencil and pen.
The eyes will be completed in colored pencil.
STANDARDS WE WILL HIT:
STEPS – This instructs you step by step on the procedures to follow so you may successfully complete this project.
1) Select a high interest animal portrait. Snarling animals are suggested.
2) Complete a light line drawing that is accurate and uses up at least ¾’s of the paper surface.
3) After viewing the slides of this project (anchor set/best practices), begin drawing in the contour lines that will be used as guides for your wrapping. A weaving type style/pattern is required on this project. The “wrapping” should vary in length and width. This should be done to both create contrast in the weaving as well as work with the patterns of dark and light in your original image.
4) Once all the pencil work is completed, carefully go over the lines with pen and ink. Fill in the negative spaces with ink.
5) Begin shading the wrapping with your pencil. Think of how the light would work with the bottom, middle and top wrapping. Be careful to not smear your work.
BASIC PROJECT DESCRIPTION
Students will select a high interest animal portrait.
After completing an accurate light line drawing, the portrait will be finished using contours lines constructed of implied wrapping using pencil and pen.
The eyes will be completed in colored pencil.
STANDARDS WE WILL HIT:
- STUDENTS RECOGNIZE AND USE THE VISUAL ARTS AS A FORM OF COMMUNICATION.
- STUDENTS KNOW & APPLY ELEMENTS OF ART, PRINCIPLES OF DESIGN & SENSORY & EXPRESSIVE FEATURES OF VISUAL ARTS.
- STUDENTS KNOW & APPLY VISUAL ARTS MATERIALS, TOOLS, TECHNIQUES & PROCESSES.
- STUDENTS RELATE THE VISUAL ARTS TO VARIOUS HISTORICAL AND CULTURAL TRADITIONS.
- STUDENTS ANALYZE & EVALUATE THE CHARACTERISTICS, MERITS & MEANINGS OF WORKS OF ART.
STEPS – This instructs you step by step on the procedures to follow so you may successfully complete this project.
1) Select a high interest animal portrait. Snarling animals are suggested.
2) Complete a light line drawing that is accurate and uses up at least ¾’s of the paper surface.
3) After viewing the slides of this project (anchor set/best practices), begin drawing in the contour lines that will be used as guides for your wrapping. A weaving type style/pattern is required on this project. The “wrapping” should vary in length and width. This should be done to both create contrast in the weaving as well as work with the patterns of dark and light in your original image.
4) Once all the pencil work is completed, carefully go over the lines with pen and ink. Fill in the negative spaces with ink.
5) Begin shading the wrapping with your pencil. Think of how the light would work with the bottom, middle and top wrapping. Be careful to not smear your work.


